


You have a wedding scheduled, and the first look and all the portraits are scheduled during the brightest hours of the day light… are you panicking, or praying for clouds?! I know I did at one point! Transitioning from being a portrait photographer to a wedding photographer can definitely present its challenges, and this is for sure one of them. Not having full control over the location and the time of day can be scary! You may worry that what you’ll deliver to your clients will be sub-par. Especially, if you’re newer to weddings and the only work they’ve really seen is your portraits! So let’s talk about how to shoot in bright sun light. I’m gonna break it down into three tips/tricks to have you create beautiful portraits in that harsh light!
3 Tactics to shoot in bright sun light
All shade is not equal!
First things first, you guessed it-yes you can try to find some shade. But what you need to know before anything else, is not all shade is created equal! AND it matters what direction you are facing your subjects in the shade. When looking for a shady area, you need to make sure that there is some kind of sky light (not direct sunlight, but light from the sky acting as secondary or filler light) hitting your subjects’ faces, to avoid subtle uneven lighting (creating unflattering lighting) or strong color casts (making their skin tone look yucky).
For example, picture you find a line of trees that is creating shade to place your subjects in. But stop, what is all around you? Is there an open field behind you where trees are not going to be blocking the access to skylight to hit on your clients faces? Or are there more trees that are blocking all that sky light? We don’t want that! For this reason, far inside thick wooded area isn’t the best option for shade. In a real pinch it can work, but the access to that sky light will be key to really creating clean lighting, which will make beautiful images.
Be mindful of Direction when shooting in bright sun light
Secondly, you need to be mindful of the direction of that sunlight. When it comes to placing your subjects in the shade (or direct sunlight- I’ll touch on in the next section), you need to be sure that you are facing their backs to the sun. AND that their faces are being exposed to that skylight we just mentioned- no trees interfering with that. In this scenario, I think the biggest fear is that the sun is directly overhead. However, the truth is, there is only a very short period of time during the day when the sun is actually directly over head. If you take time to notice, the direct sun light will be coming from a direction that enables you to turn your subjects so that the sun is behind them. This is important- in shade and without any shade. If you face them toward the sun while standing in the shade, you are sure to have spotty lighting on their faces.
What if there’s no trees or shade?!
While not all photographers typically face this situation on a regular basis- it definitely happens! And when it does, it feels daunting… terrifying- probably a more accurate description ha. I mean, think the beach or open fields in the middle of the day. Panicking inside already?! lol. Believe it or not, this lighting can actually be pretty because you’ll be creating a rim light on your client. Here’s what you need to do.
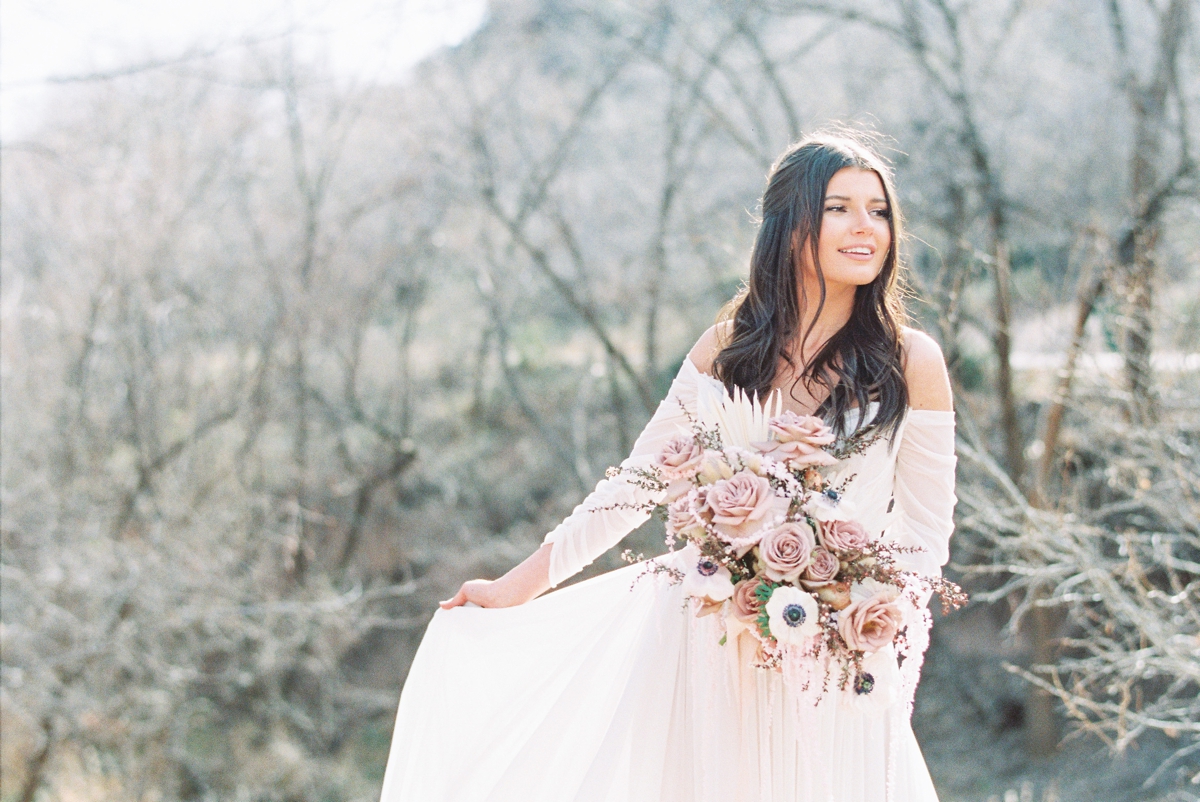
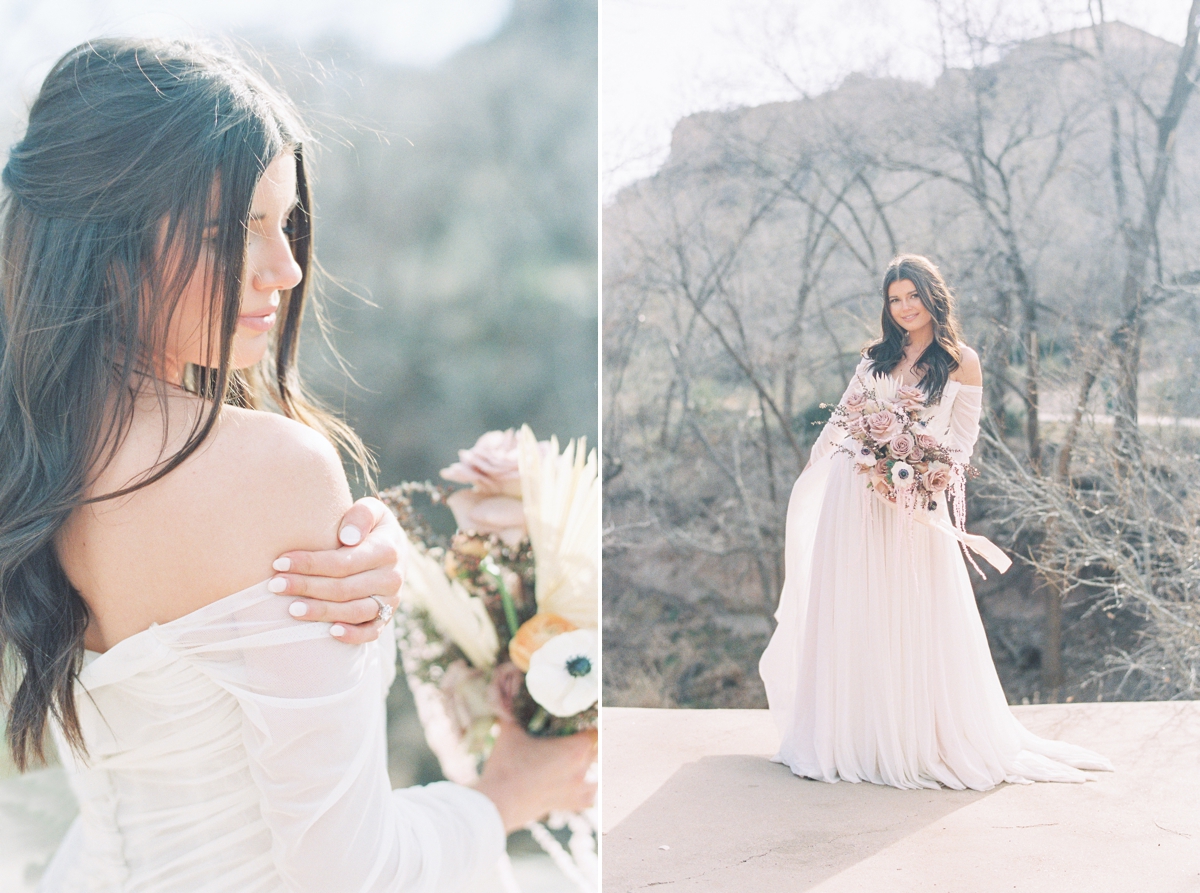
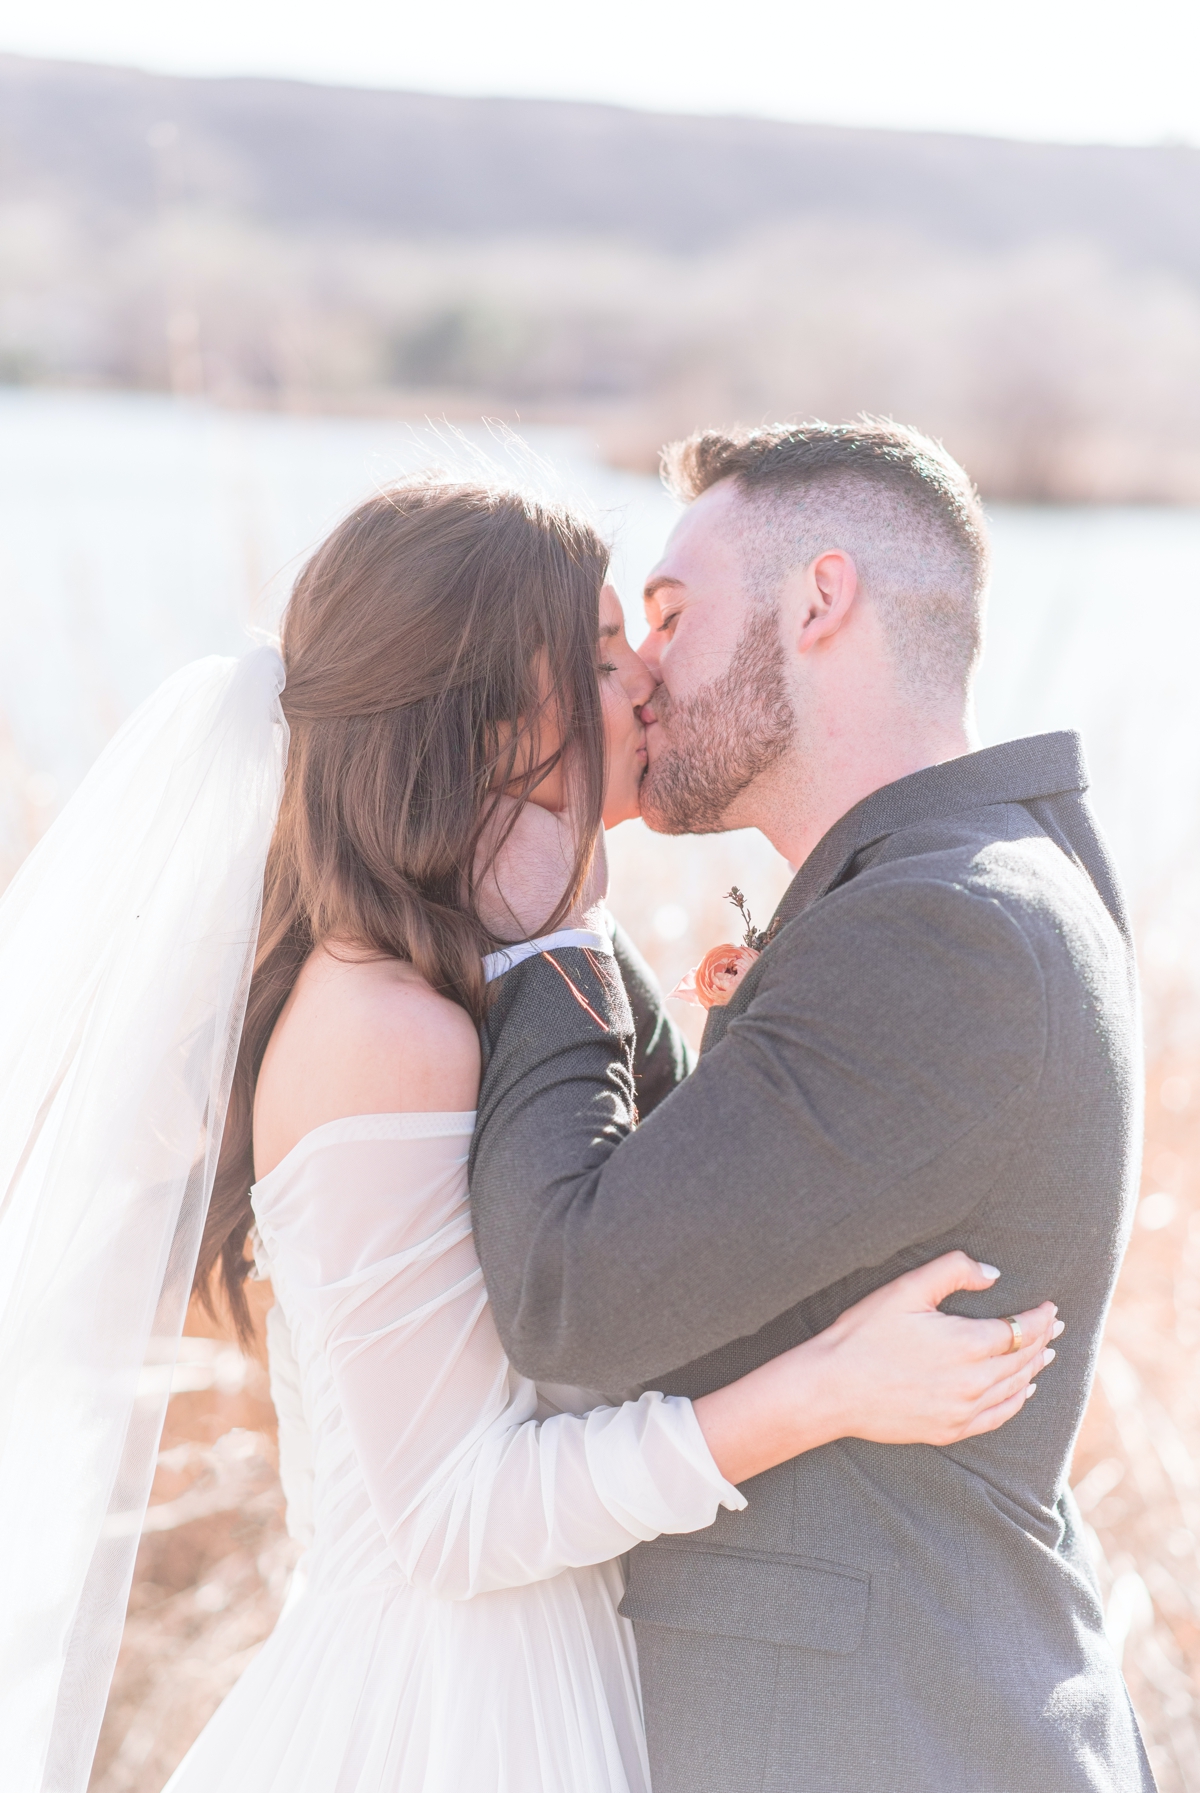
My first tip is use a longer focal length! Slap on an 85, 135 or 70-200- however long will work for the amount of people and space you have. Longer lenses, you will find in harsher light, create a softer looking light- as well as bring the background in closer to the subject. Both of these are key to creating something beautiful. Then, find what direction the direct sunlight is coming from. Next, turn your clients backs to that direct light. After this, place them in front a background that has the same exposure as is on their face (basically also something shaded). Putting them in front of somewhere that is in super bright light will be hard to work with when their faces are shaded, because the dynamic range will be so vast. (The photos on this page are good examples of this!)
Lastly, you’ll want to shade yourself/your lens. Put on a lens hood, use your hand, or have an assistant simply hold something like a reflector disc over you. The reason this last step is important is because, think of when you’re looking directly toward the sun, your reaction is to put your hand over your eyes to shade the sun. Same concept with your lens! It’ll be flooded with light and it won’t be able to ‘see’ your scene clearly.
I hope you found this post super helpful! I know in my early years this was something I was terrified of and I have learned over the years to embrace it and that I actually prefer the sun at all times of day! No more praying for shady days 😉
any questions? get in touch below, I’d love to help you!
You may Also Like:
The Wedding Photographer’s Workflow
Light & Airy Presets for Wedding Photographers
Equipment:
Nikon D750
Sigma 135 1.8
Nikon 85 1.8
Nikon 50 1.4
Nikon 35 1.8
Nikon F100
Fuji 400H
Leave a Reply


leave a comment!